The power and complexity of Blender Animation
Animation
Animation is a very powerful and important skill that is in fields from Animated movies (Duh) to games. Animations are what give games character and make it feel alive and a game without animations isn't worth playing. Animation is done mostly in keyframes, where every frame there is a update to the character or sprite that is being animated.
3D Animation in blender
3D animation in blender is a keyframe system like mentioned above, where every frame transforms (Coordinates, rotation and scale) of objects are changed and manipulated to create movement or even complete movies. 3D animations in blender focus lots on armatures which give 3D meshes "Bones" or "Hinges" which can give realistic movement to body parts or 3d meshes instead of rotating certain faces and edges to create the same effect.
Each dot represents a change on the keyframe window or in Blender, "Action Editor".

Creating Frankenmesh
To get me a good start point, I followed the low poly character creation video from Imphenzia. I found this video a bit hard to follow and still am struggling to get my head around when to extrude, when to move and "stretch" and a lot of other concepts but I can feel that its getting a lot easier every time I use it.
The most important thing I learnt from this tutorial was:
1. How to shape a basic character model, create arms and legs and get a good default shape,
2. How to use the Mirror add on to create symmetrical objects quickly and accurately and
3. How to use block colour textures to create easy textured objects.
After learning all of this, this is what my character looks like
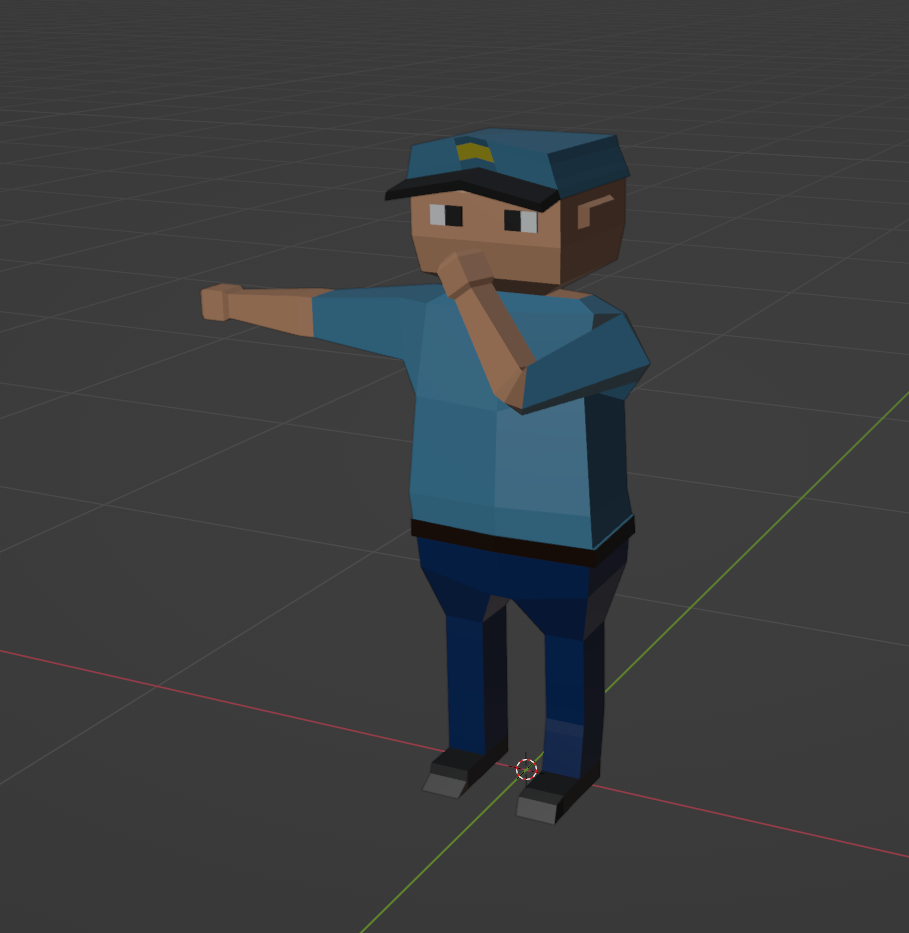
He is simple but has a great 3d Pixel art or low poly aesthetic to it which I find charming but he isint ready to pose ( Like this picture is) so lets get into armatures!
Givin' a model a bone
Armatures, like mentioned before, are bone like objects that give models the ability to move. This movement with a lot of constraint can make moving arms and legs incredibly easy. Armatures are created by first creating a base bone, that bone was created as the hip/groin bone so that every other bone can be branched easily from it. The main goal is to create a little bones as possible while also giving yourself enough freedom of movement and that sweet spot for this model was about 3-4 bones for each extremity and spine and one for the head. This gives you this view of your model.
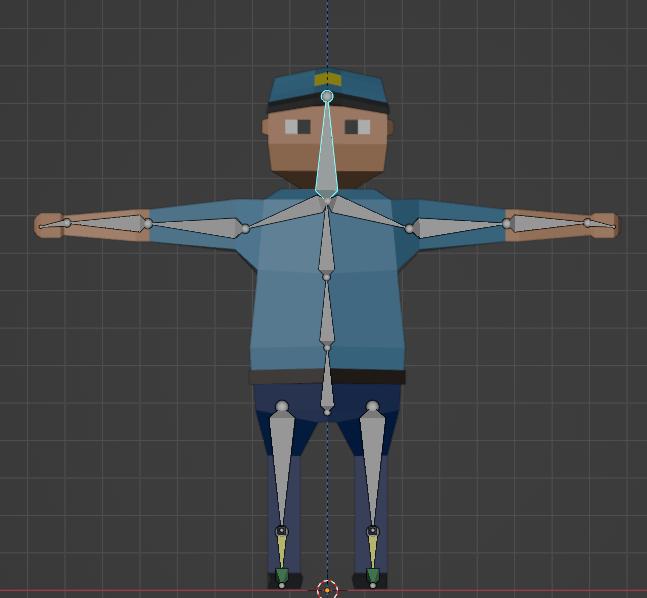
Even after adding all these bones to your model, you will find that your character doesnt move along with the bones yet. That is because there isint any connection between the two yet, they are just in the same location. Selecting your character then the bones and then pressing CTRL+P will let you join the two together to create the beautiful movements that we will create in our keyframe menu.
One Step for Mesh Kind!
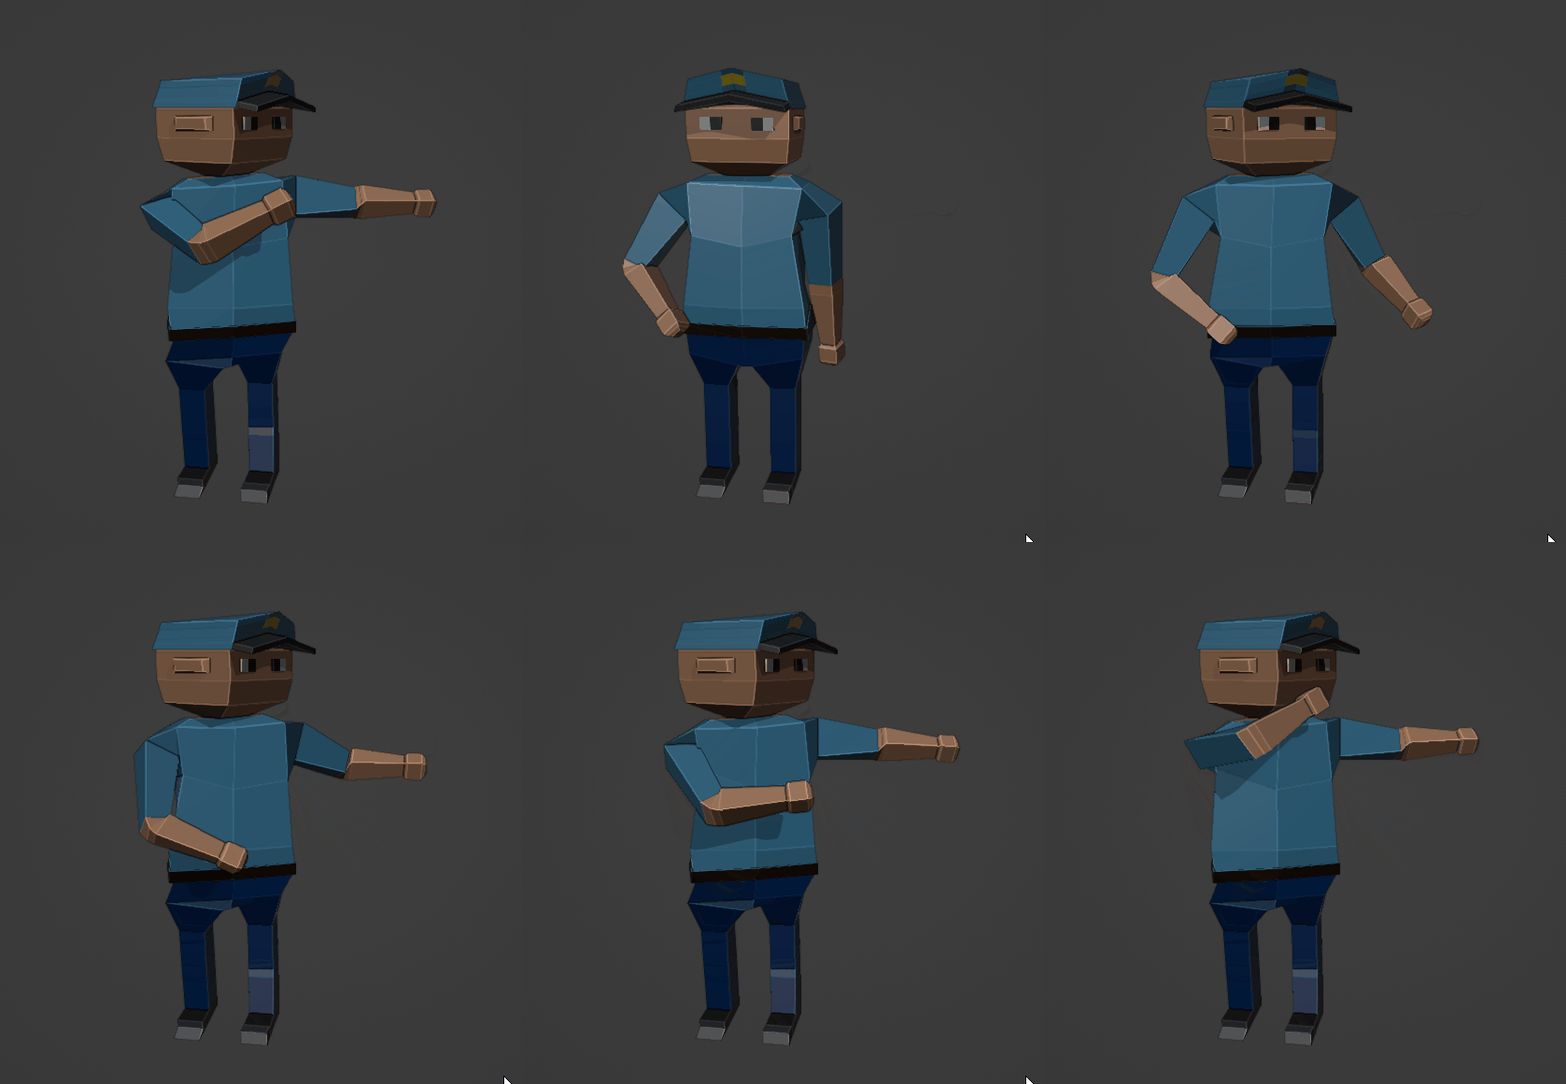
This is the fun bit! After creating the Bones you need move to the Animation tab to start letting your character move. I used the action editor Keyframe timeline as that is the recommended animation panel for Armatures. I created an animation and just started moving and rotating the bones on my Character each couple of frames and let blender smooth out the in-between frames. I started with my Idle animation to get used to how to place movements and changes in transforms on the timeline
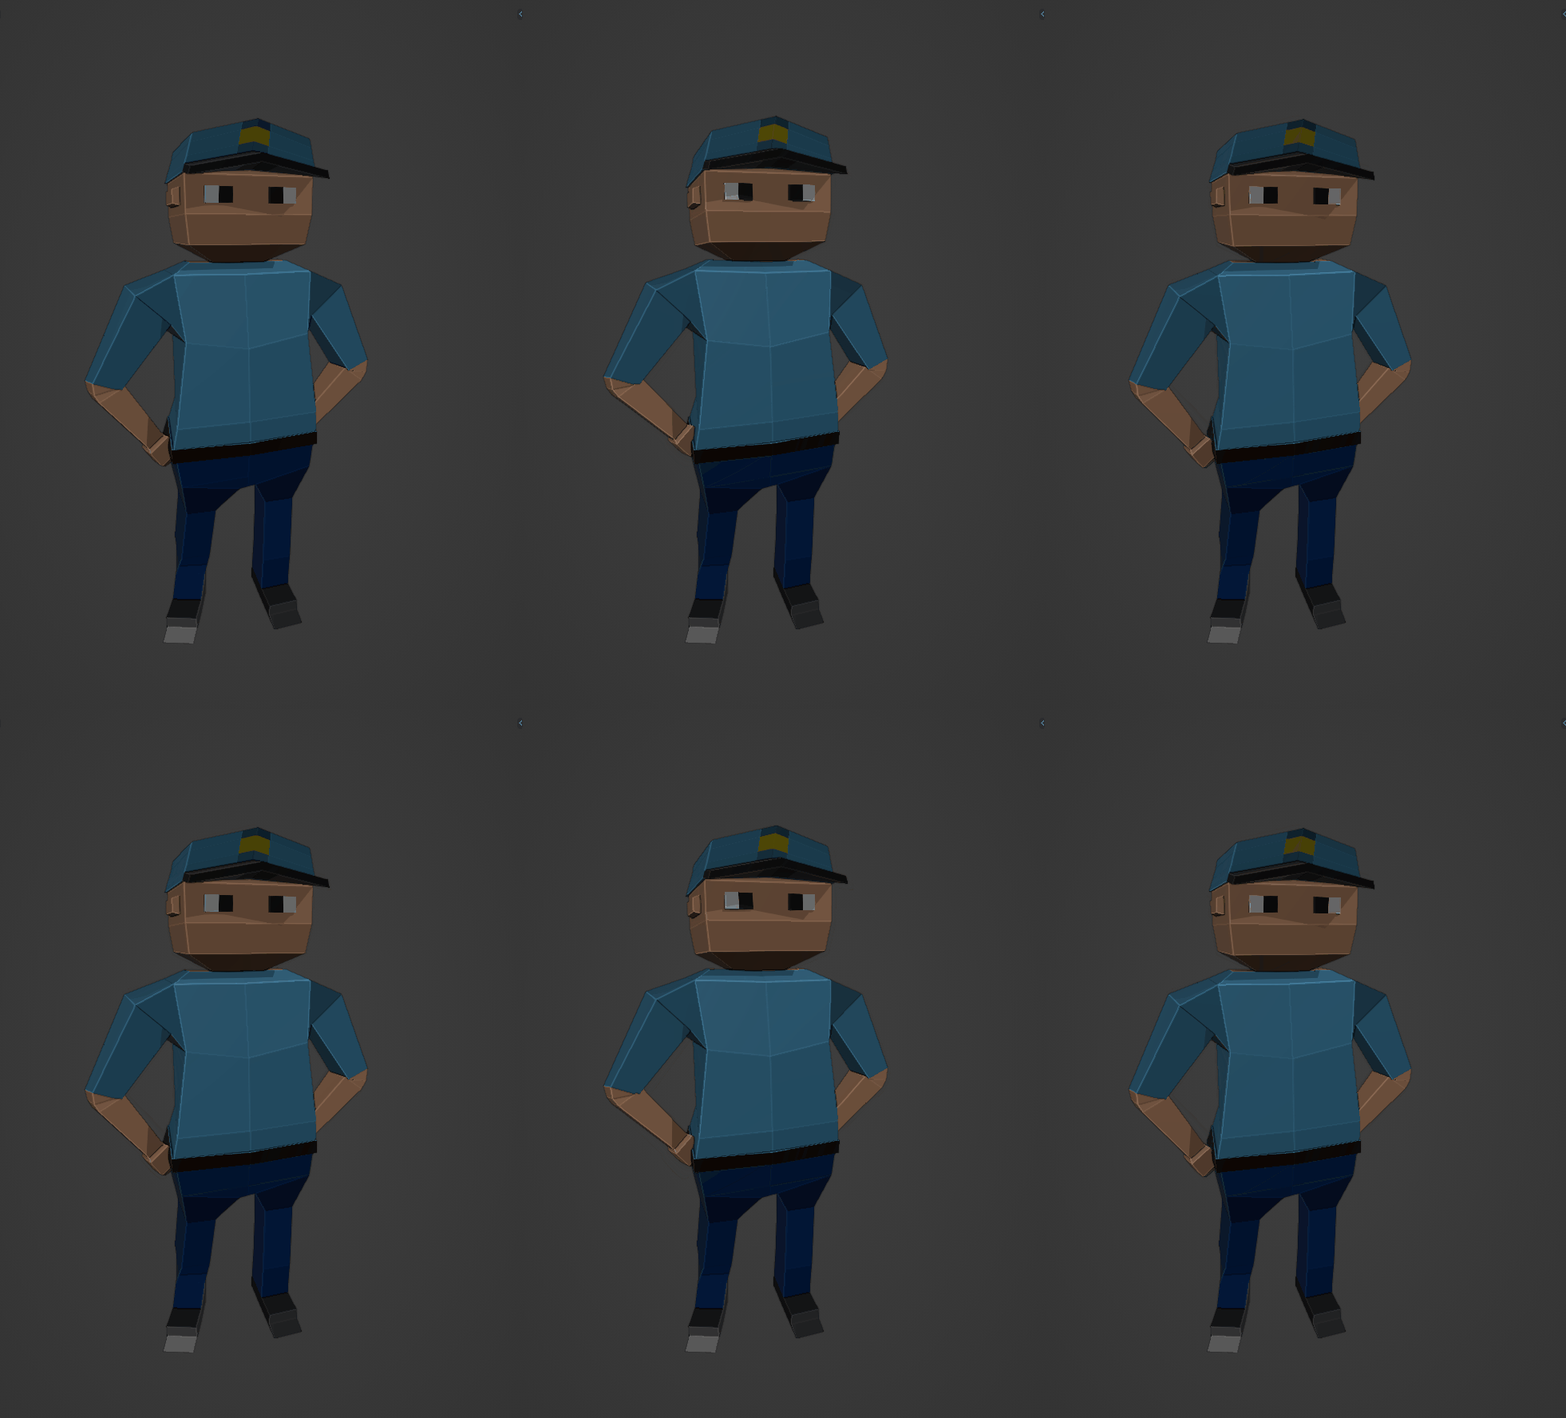
This was actually quite easy! With keyframe recording, all you have to do is move them on the blender view and it auto stores it on the time line. All this anim took was to rotate the arms to put them on the hips and move the chest and shoulders out and up respectively and then reversing it. The shoulder moving technique made the head move which makes it look very convincing but made the hands move awkwardly.
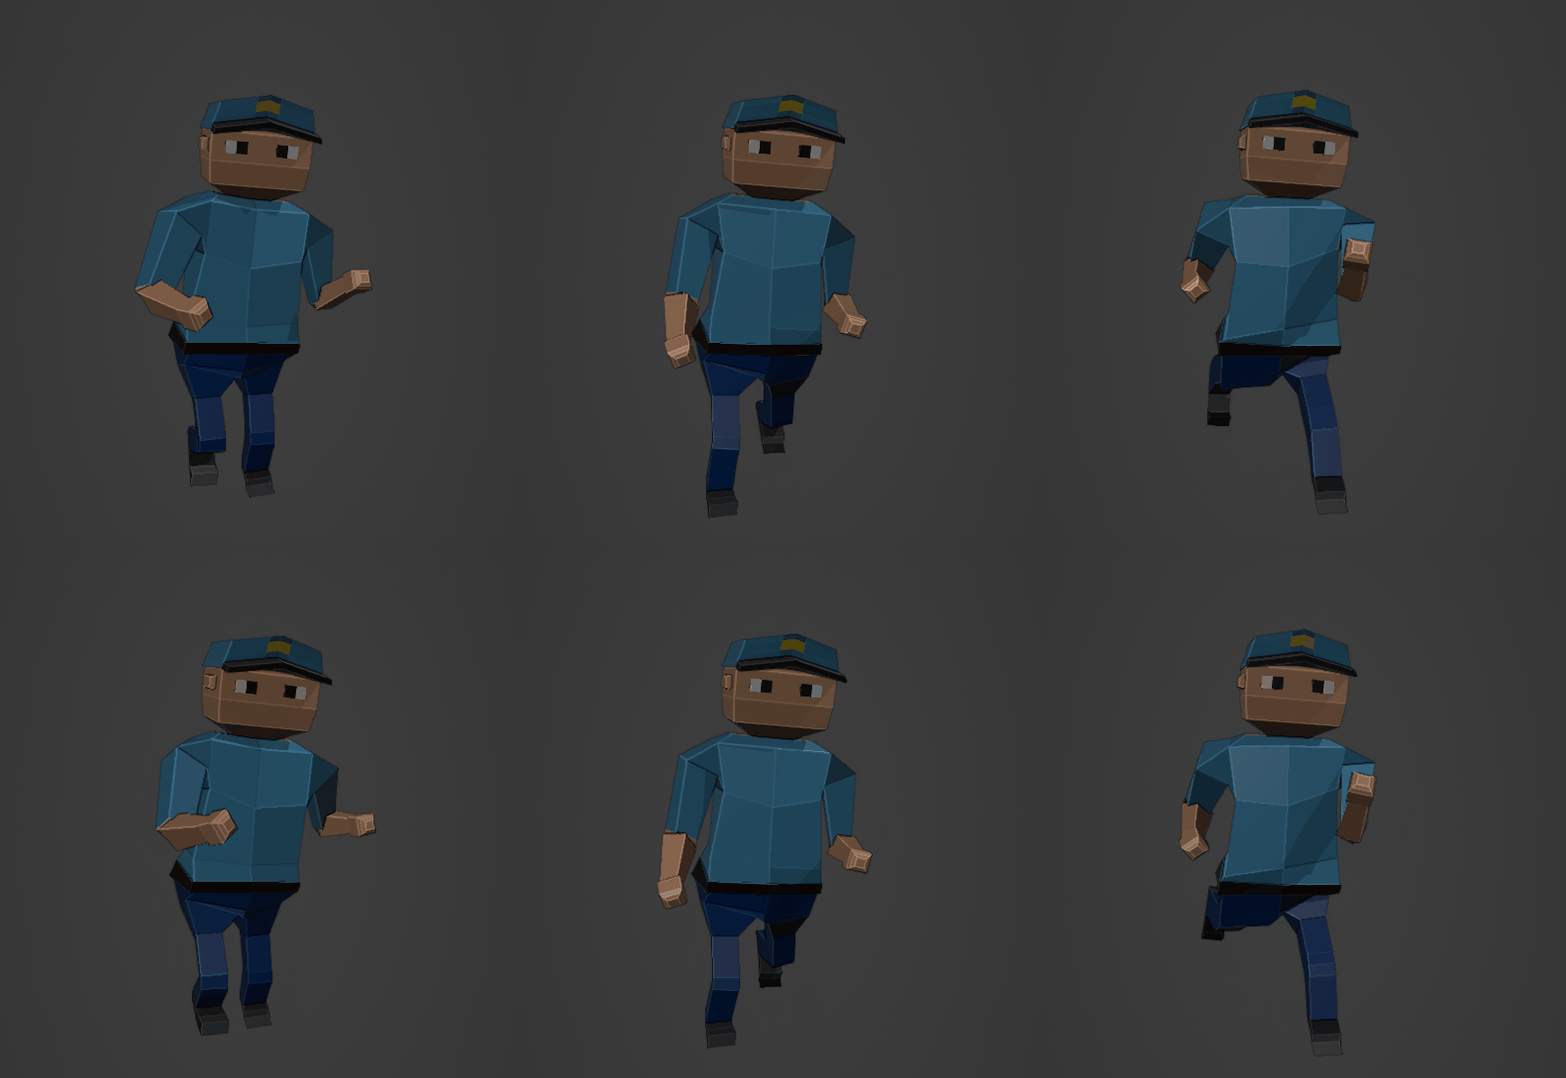
I then did the same thing for my walking and special animation which was a "Point and whistle" with no whistle.
Conclusion
Blender character creation and rigging is tricky to get the hang of but the payout of having a easy to use and realistic animation and movement system. This technique is incredibly important and essential to creating 3D games with fluid animations and great visual style.
Get KIT207 Portfolio
KIT207 Portfolio
This is my Portfolio for KIT207
| Status | In development |
| Category | Other |
| Author | Tylmcd3 |
More posts
- Navigating Navmeshes - Tut 3Aug 07, 2022
- Probuilder and Terrain modelling in UnityAug 06, 2022
- Importing and using Blender Models in Unity - Tut DevlogAug 02, 2022
- Importing Models Into UnityJul 25, 2022
- Basics of BlenderJul 19, 2022
Leave a comment
Log in with itch.io to leave a comment.